
How to make natural soap safely: a beginner's guide
Making Natural Soap appeals to people who want to understand what they apply to their skin. You choose oils, clays and optional additives, then transform them through saponification. It is satisfying, but also technical.
A Natural Soap needs more than a pretty, scented bar. It requires a balanced formula, precise weighing, ingredient knowledge and strict safety practices. Guesswork can produce an irritating, lye-heavy or unstable batch.
Start with a simple, verified formula, minimal additives and consistent steps. Customization becomes easier after the fundamentals are clear.
Train with eJardin
The eJardin Academy offers online training in natural-product and soap making, medicinal plants, essential oils and skin care. Learning to make Natural Soap requires understanding of oils, saponification, superfatting, fragrances and precautions.
Good training helps you understand why a formula works. It explains hardness, cleansing, lather, superfatting, safe scent use and why every ingredient must be weighed.
If you are looking for a serious online school to learn natural product manufacturing, eJardin offers a structured way to learn at your own pace, with practical foundations and a safety-first approach.
Why make natural soap?
Making Natural Soap gives you direct knowledge of the formula: which oils it contains, why each additive is present and how the batch was made.
This autonomy is very appealing to people who love plants, simple products and artisanal gestures. A bar of soap then becomes more than a toiletry product. It tells about a formula, a choice of oil, a color, a smell, a texture.
The real interest remains understanding. When you make it yourself, you see the difference between olive oil, coconut oil, shea butter or clay. You also understand why soap must dry and why a recipe cannot be improvised.

Basic ingredients
A Natural Soap uses a few ingredient families. Oils and butters form the base, lye enables saponification and water dissolves the lye. Optional additions may include clays, powders, scents or colourants.
Olive oil can contribute mildness but may harden slowly. Coconut oil can increase lather and cleansing, so its proportion matters. Shea or cocoa butter may contribute hardness.
Each oil behaves differently in soap. Replacing an oil without recalculating the lye can make the formula unsafe or change the final bar.
Plants, clays and vegetable powders
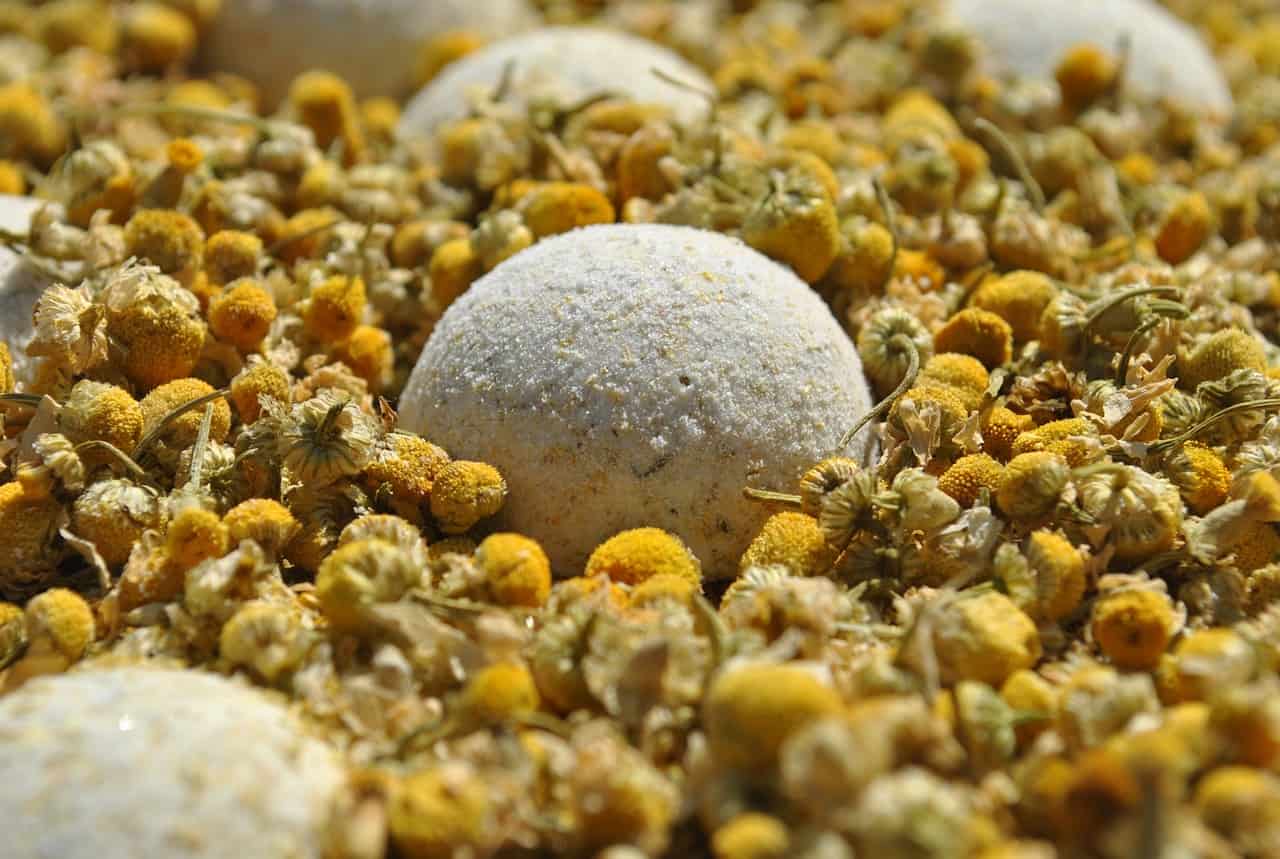
Plants give a lot of charm to a soap, but they must be chosen with sobriety. Lavender, calendula, chamomile, rosemary, oats, nettle or rose powder can inspire beautiful creations. However, not all plants retain their color or smell in soap.
For a Natural Soap, plants may be used in an infusion, herbal infused oil or fine powder. Whole flowers can discolour or feel unpleasant during use.
Clays are often more predictable colourants, but the amount still matters. Too much may make a bar feel less pleasant.
Personalize a Natural Soap
Customization may involve a mild scent, plant-based colour, gentle exfoliation or a shape suited to the intended use.
A Natural Soap can be simple: a short oil formula, clay and an optional light scent. More advanced batches may include marbling or carefully selected botanical additions.
Essential oils are optional and concentrated. Some can irritate skin, cause sensitization or be unsuitable for certain users. Any scent must stay within limits appropriate to the exact oil, formula and intended use.

A more sober everyday gesture
Making soap at home can reduce some packaging. A properly formulated, fully cured bar is compact, durable and easy to transport.
A Natural Soap is not automatically environmentally preferable because it is handmade. Consider oil sourcing, ingredient quantities, packaging, waste and fragrance choices.
Sobriety remains a good rule. A short recipe, well-chosen ingredients, little decoration and simple packaging often give a better result than a soap loaded with additions.
Autonomy and know-how
Learn how to make one Natural Soap builds a practical skill. You can understand family-use formulas, choose ingredients for an intended use, keep records or prepare for more advanced craft training.
This self-reliance requires records. Note the date, exact formula, oils, temperatures, additives, curing time and observations. A batch log makes troubleshooting and repetition possible.
When a batch is successful, you can do it again. When a batch is too soft, too brittle or too fragrant, you know what to correct. This is where the learning really begins.
Soapmaking safety
Safety comes before creativity. Caustic soda can burn skin and eyes. It must be handled calmly, in a ventilated space, away from children, animals and distractions.
- Wear protective glasses, gloves and long sleeves.
- Add lye slowly to water; never pour water onto solid lye.
- Use compatible, heat-resistant equipment reserved for soapmaking.
- Weigh all the ingredients with an accurate scale.
- Verify every formula with a reliable lye calculator.
- Label batches with date and formula.
- Complete the full, formula-specific curing period before use.
Method to get started without getting lost
For a first Natural Soap, choose a short formula with two or three oils and at most one simple, appropriate addition.
Leave elaborate marbling, layered designs and complex fragrance blends for later. First learn emulsion, trace, moulding, unmoulding, cutting and curing.
After several batches, change one variable at a time: an oil, clay, superfat level or scent. That makes results easier to understand.
Common mistakes with Natural Soap
The first common mistake is replacing an oil without recalculating. Different oils require different amounts of lye, so every formula change needs a new calculation.
The second mistake is over-perfuming. A Natural Soap with too much essential oil can irritate skin and exceed safe usage limits.
The third mistake is rushing the cure. A bar may feel hard after a few days but still needs the full formula-specific curing period before use.

Conclusion
Making Natural Soap is a useful introduction to natural-product formulation. You learn about oils, saponification, additives, texture, scent and the limits of home production.
Reliable results come from verified calculations, precise weighing, suitable equipment, a full curing period and a formula appropriate to its intended use.
To progress, start with few ingredients. Write down your attempts. Check your recipes. A Natural Soap should be safe, consistent and reproducible, not merely attractive.
FAQ – Homemade natural soap
What is natural soap?
Natural bar soap is made by saponifying fats or oils with a precisely calculated amount of lye. Formula balance, process control and curing matter more than a “natural” label.
Can you make natural soap without lye?
Cold-process soapmaking requires lye for saponification. A ready-made melt-and-pour base avoids handling raw lye, but it is a different method.
What ingredients should you choose to start with?
Start with a verified, short formula using familiar soapmaking oils. Keep additives minimal while you learn the process.
How long does homemade soap need to cure?
Cold-process soap usually needs several weeks of formula-specific curing. Curing improves water loss and bar performance, but it cannot correct an unsafe lye calculation.
Are essential oils necessary in natural soap?
No. Fragrance is optional. If essential oils are used, the exact oil and amount must be appropriate for the formula and intended users.
Can you sell your homemade soaps?
Selling soap requires checking the current rules that apply in your jurisdiction, including product classification, notification or registration, labelling, records, manufacturing practices and claims.
Why train before making soap?
Training helps you understand saponification, lye calculations, oil selection, safety, batch defects, curing and record keeping.